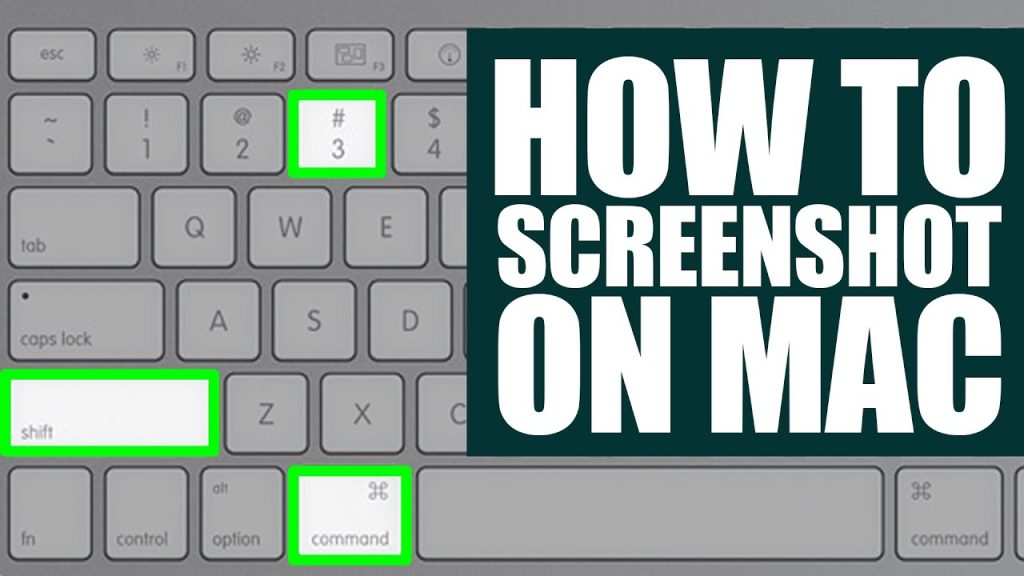
To take a screenshot on a Mac, use the keyboard shortcuts Shift-Command-3 for the entire screen, or Shift-Command-4 to select a specific area. For more options, including screen recording, use Shift-Command-5, which opens the Screenshot app. Screenshots are typically saved to your desktop.
Here’s a more detailed breakdown:
1. Capture the Entire Screen:
- Press and hold Shift-Command-3.
- A thumbnail of the screenshot will briefly appear in the corner of your screen.
- Click the thumbnail to edit the screenshot, or wait for it to save to your desktop.
2. Capture a Portion of the Screen:
- Press and hold Shift-Command-4.
- The cursor will change to a crosshair.
- Click and drag to select the desired area of the screen.
- Release the mouse button or trackpad to capture the selected area.
- A thumbnail will appear, and the screenshot will be saved to your desktop.
3. Using the Screenshot App:
- Press and hold Shift-Command-5.
- The Screenshot app will open with options for capturing the entire screen, a selected window, or a portion of the screen.
- You can also choose to record your screen.
- Click “Options” to customize where the screenshots are saved, set a timer, or include the mouse pointer.
- Click “Capture” to take the screenshot or start recording.
4. Copying to Clipboard:
- To copy the screenshot to the clipboard instead of saving it to your desktop, add the Control key to the shortcuts.
- For example, use Control-Shift-Command-3 to copy the entire screen or Control-Shift-Command-4 to copy a selected area.